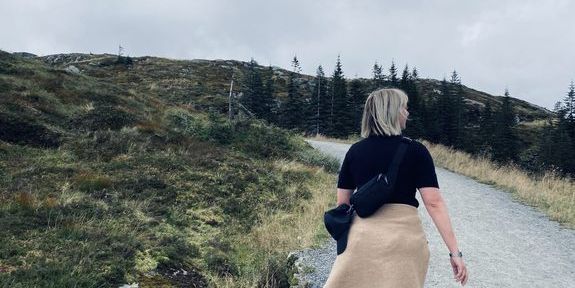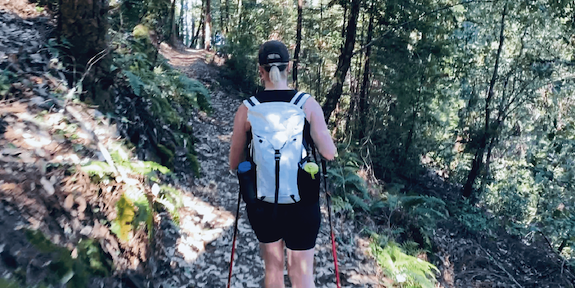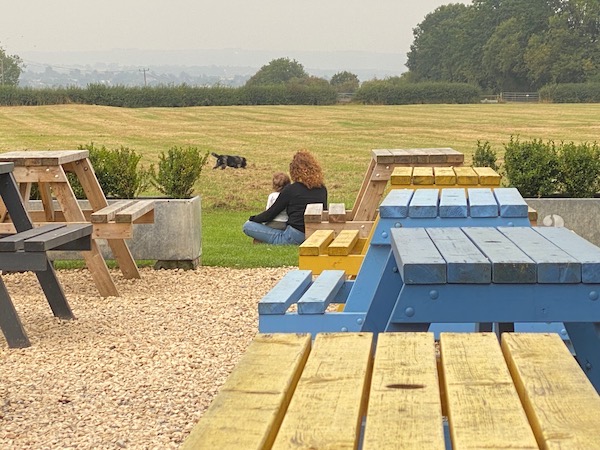
Clare’s and my near daily walks over the years on the public footpaths that dot the countryside of her native England are some of my most cherished memories. On our daily disappearance in the fields and forests we trace canals and game trails, country lanes and livestock fences, and the boundaries of private property with such low precision it makes this American boy nervous that a farmer with a chip on his shoulder may actually confront us about our presence on his land. Against this backdrop, our walks are really about catching up. I see Clare only once a year these days and this time is a special and important part of each visit.
On one such walk last September, her infant daughter in sling and the dog in tow, our conversation drifted to the various projects we are currently working on and, naturally, toward the activities we truly enjoy. Clare and her husband were in the process of opening a bakery in their small town and I let on that the pack I was carrying that day was designed and built myself. Although I hadn’t planned to accept my first custom commission that day, she was convincing and specific in her ask and I was very happy to oblige.
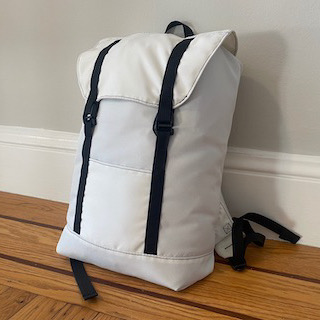
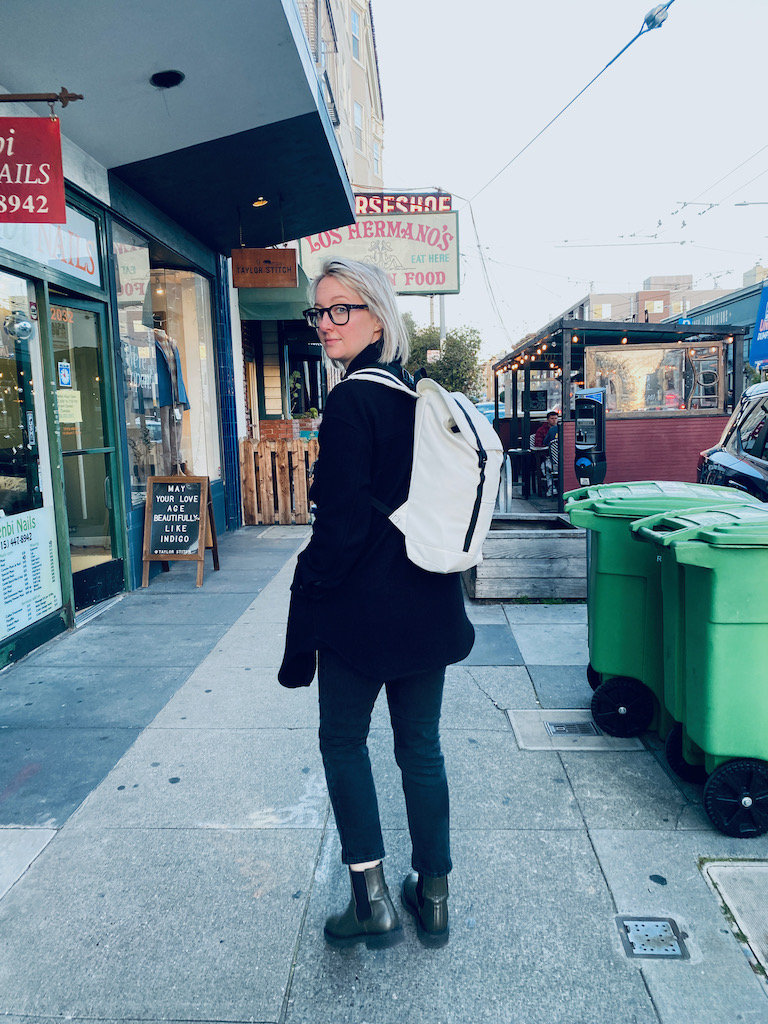
Clare’s Eleven Fifteen is a 15L daypack designed for a dear friend. This prototype pack turned out nice enough that I plan to use it for a while.
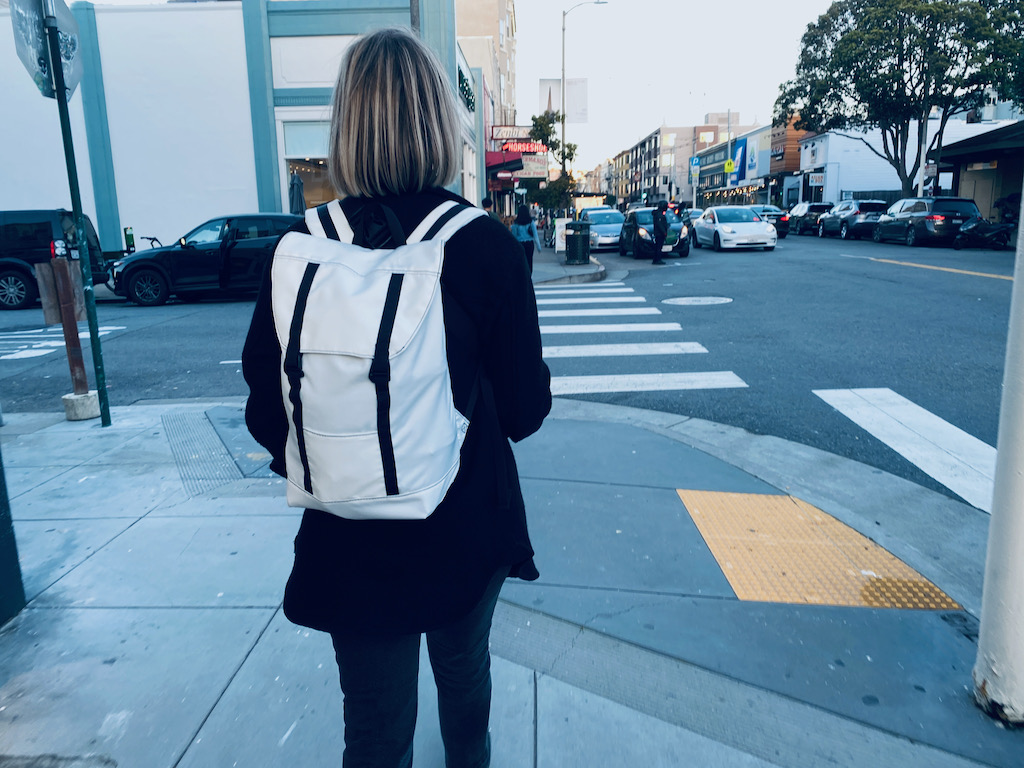
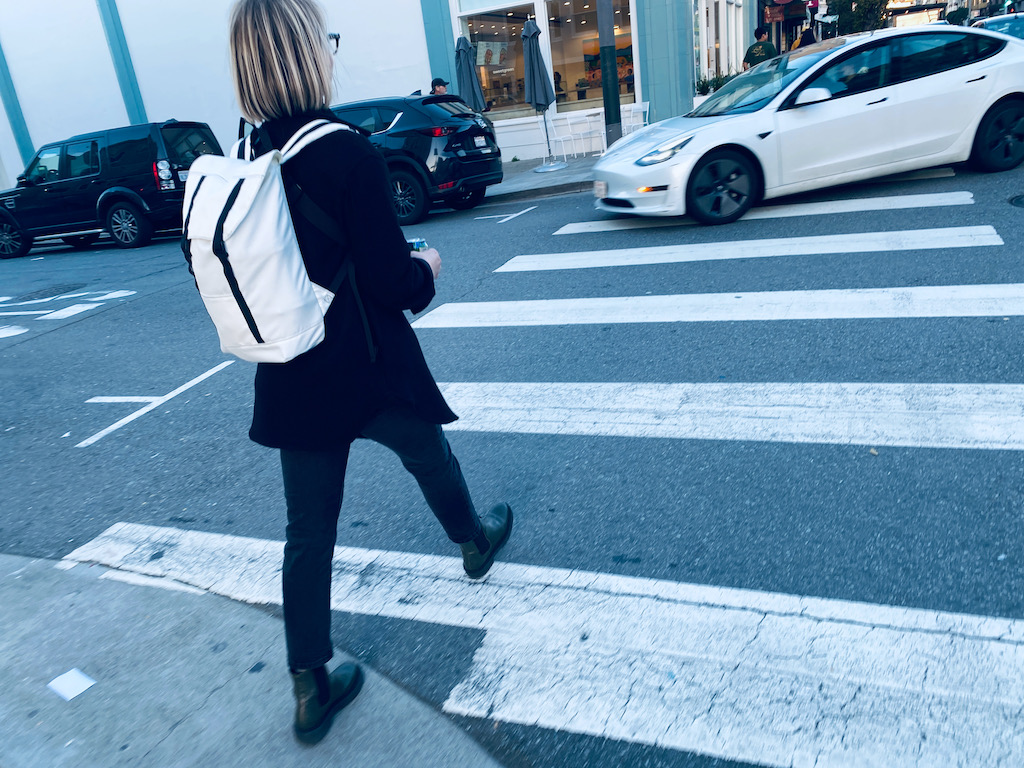
Concept
Clare’s Eleven Fifteen is the second pack that I have designed from the ground up drawing inspiration from some backpacks that she showed me on the internet that afternoon and also from some other travel gear that I’ve seen her bring with her on our near annual trips. I drew additional inspiration from an old REI backpack I used as a kid that was already vintage when I was using it in the early 90s. I miss that pack.
Conceptually, this pack is very simple:
- Less than 15 liters in size (so she can’t over-pack it)
- Simple, no frills enclosure (so she can’t break it)
- Minimal pockets (so she can’t over-organize it)
- Black. It has to be black. (oops)
Budget
Because this is a prototype, I wanted to keep costs low to make sure that it was going to work before using expensive fabric and components. Ignoring the cost of time I spent drafting, tinkering, measuring, and cutting the pattern, this prototype was very inexpensive to make. This prototype is not built to last and the quality of the materials demonstrates that. All components are listed below.
| Item | Style and Quantity | Cost or Estimated Cost |
| Exterior fabric | 3/4 yard of deeply discounted Sunbrella fabric | $5 from a local fabric store |
| Liner fabric | 3/4 yard of 1.1oz rip stop nylon | $4 from RBTR1 |
| 2-way stretch mesh | 28 square inches | Harvested from an old pair of worn out leggings (yes, this is 4-way stretch but good enough for the prototype) |
| Webbing | Roughly 5 yards of 3/4” 2001 webbing | $4 from Quest Outfitters2 |
| Closed cell foam | Way less than half a yard of 1/8” foam, probably closer to a quarter yard | $8 from Seattle Fabrics3 |
| Velcro | Negligible amounts | Let’s call it $1 from a local hardware store |
| Drawcord | 45” of some random scrap cordage | Who even knows? Maybe $1? |
| Cord lock | A single one | $.35 from Ripstop by the Roll4 (but you have to buy a dozen) |
| 3/4” plastic g hooks | 2 of them | $.75 from Ripstop by the Roll5 (but again, they ship by the dozen) |
| 3/4” Plastic ladder locks | 2x #3009 | $.66 from Quest Outfitters6 |
| Total | Roughly $25 |
Planning
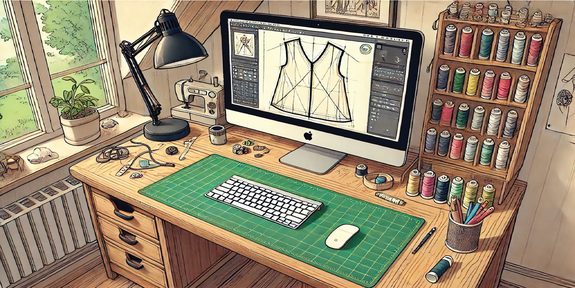
After a basic sketch (read: a drawing indistinguishable from that of a toddler) and some measurements that I ripped off from the internet, I spent the bulk of the time planning this backpack in Valentina and in my head. There aren’t any particularly complicated elements of this pack but I did spend a good deal of time contemplating sizing.
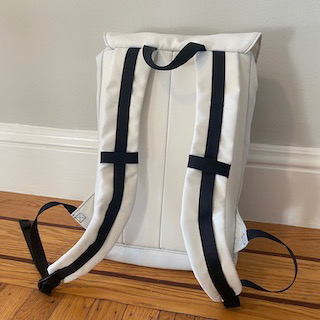
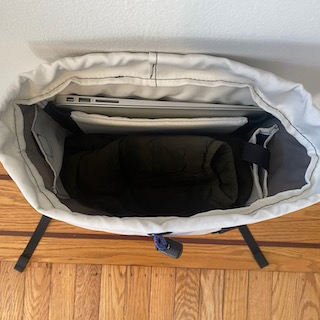
The pack itself measures up at roughly 14”H x 10”W x 4.5”D (35.5cm W x 25.5cm H x 11.5cm W), features a drawstring main enclosure, webbing and g hook lid latch, one interior slip pocket, one interior 3D pocket roughly the size of an iPhone 11, and a padded laptop pocket suitable for an old 14” MacBook Air.
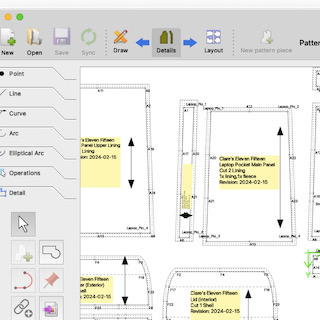
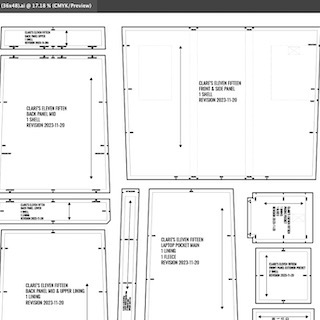
Without exaggeration, I likely spent 10x+ the amount of time sorting out the dimensions of the lid and how to construct a 3D pocket on the interior of a bag (not in a seam) than I did for the rest of the pack combined. Due to a few wonky attempts on lids for other packs that I’ve made for myself, I wanted to nail the size of this one on the first try and I think I did just that. Valentina’s ability to define and call sizing variables was instrumental in the drafting phase of designing this pack.
Preparation
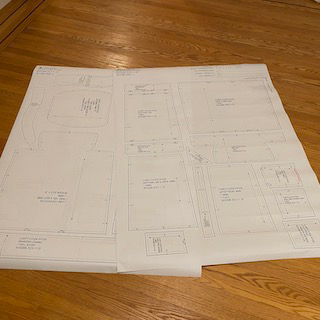
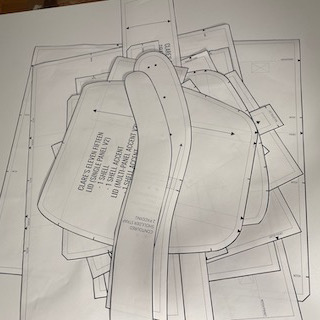
I cleaned up the pattern after exporting from Valentina and sent a PDF off for print. Fortunately, I had all of the necessary components on hand so there was no need to wait for fabric or hardware. A few days later, the freshly printed pattern arrived in the mail. We cut it out, traced and cut the fabric panels, and we were ready to start sewing.
I had spent enough time with this pattern while drafting it that I originally thought there was no need to document the anticipated assembly steps. I did anyway and I’m glad that I did since we hit some snags.
Assembly
At the machine, construction of this prototype was straightforward enough but painstakingly slow due to neurotic attention to detail and an intense, almost obsessive, desire to avoid using the seam ripper. Because this was the first and only version of this pack, I spent zero time trying to optimize steps and had to retool my machines a few times to accommodate different stitch types and lengths which added a significant amount of time to the build.
The basic assembly steps are
- Form the lid
- Make the shoulder straps
- Create the interior phone pocket and attach it to the lining
- Attach necessary components to front/side then form a unified front/side/base panel
- Squish and seal piece of foam in between the back panel and the back panel lining
- Sew the laptop pocket and attach it to the now complete back panel along with the shoulder straps, lid, and haul loop
- One big seam to form the pack inside out
- Attach and thread the drawcord channel
- Turn it out and feel genuine surprise that this came together as well as it did
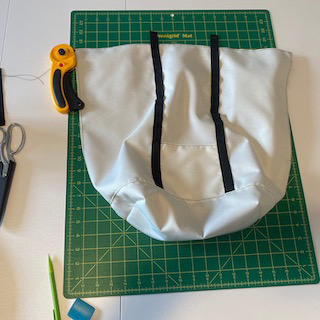
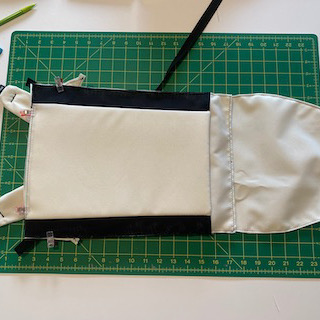
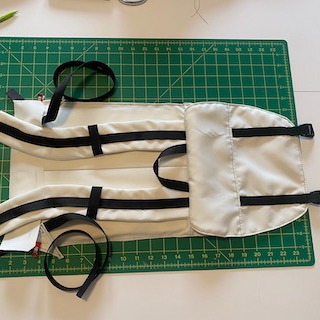
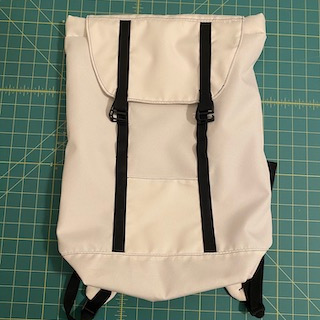
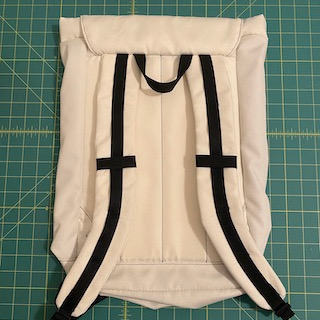
Of these steps, no single one was complicated but I did, admittedly, forget to attach the lid before I sewed the whole thing up. Seam ripping the whole thing back apart was fun. That’s what we’ll say.
Final Product
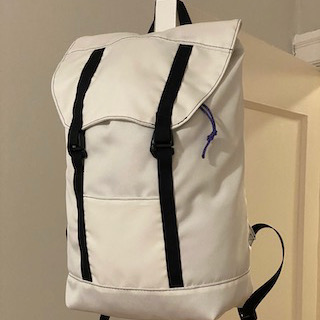
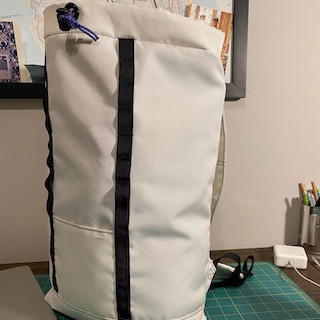
Again, the materials that this prototype is made of will not go the distance but we’ve started putting it through its paces and it’s performing surprisingly well. So far, it’s survived a couple of overnight stays away from home, daily carry to work and back, a couple of short hikes, and a brewery visit. I’ve not owned a pack this small since grade school but I can see how a grown adult would like it for its size and versatility. Overall, I’m very satisfied with the shape and fit of the prototype and it seems likely that the actual piece will not require significant revisions.
This pack was a pleasure to make and is a delight to use but please don’t look at the sloppy stitching.
Notes for Revisions
As with all prototypes, the goal of the effort is to observe the process and usage of the final product. With this prototype we learned
- There are naming problems on the pattern labels. Gotta fix those or get confused again next time.
- The laptop pocket stretch orientation is important. Put a grain line on the pattern to remind.
- Forgot to draft the pattern pieces for the back panel and laptop pocket foam. Draft these at ~1/8” inside of the seam line for each.
- Put some notes about or a mark on the pattern where the haul loop should go.
- The back pad was sloppy when squished between layers. Adding some topstitching to hold it in place helped. Should add some guides on the back panel pattern piece to note where those should go for even spacing.
- Don’t try to get fancy with the daisy chain on the front of the pack. The hardware here doesn’t require any gap between fabric and webbing so just keep it simple and drop a bar tack every inch up to the mouth of the pack.
- The phone pocket was an absolute nightmare to sew. Partially because of the design and partially because of the fabric. To overcome this with our current skills and tools, we’ll need to put the pocket edges in a seam which will involve turning the lining of this pack in to a series of panels.
- Attaching the drawcord channel without any visible topstitching on the outside of the pack was a challenge. We ended up attaching it by folding it in half and sewing right side/right side to the exterior of the pack and then binding the raw edge. This works and doesn’t have an exterior topstitch but I feel as though there should be a cleaner way to do this. We’ll see if this approach turns out to be a nuisance.
- I actually drafted 2 lids for this pack, the one shown and one about 1.5” longer. I think either would work but more testing is required to see what the limits of “full” are on this tiny little backpack.
