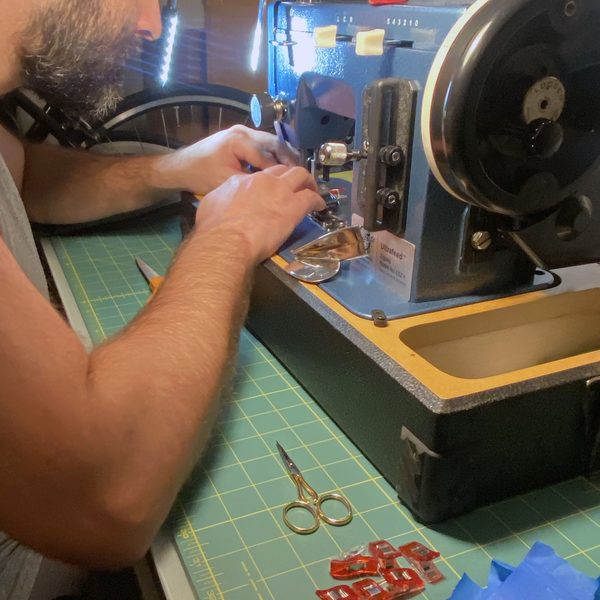
I had been sewing primarily on my Sailrite Ultrafeed LSZ-1, in its carry case, for a year before I discovered that I had a problem. Projects were taking longer and starting less and less frequently when I realized that I had been delaying and, quite frankly, dreading the start of new projects purely because of the setup involved. Inertia around setting up before and cleaning up after a project was zapping my desire to sew.
It was time for dedicated table for my machine. For cost reasons and to ensure the final product met all of my requirements, I was determined to make it myself.
Concept
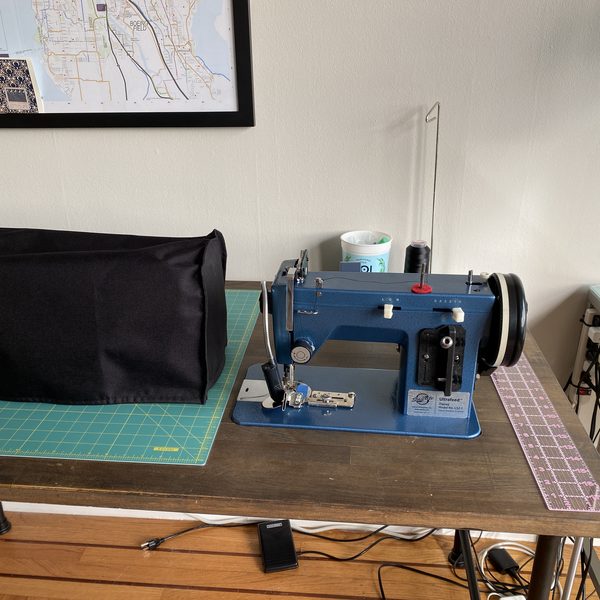
Sailrite makes a table for their Ultrafeed machines. By all estimates, it looks fine I suppose but not something that I had planned to purchase. My beefs with it are three:
- It is expensive clocking in at nearly $400. I figured I could do this for way less.
- It’s sized for sewing and not much else. To justify having a table in my small apartment that is always out and always has my machine mounted in it, I needed this table to also serve as a workspace for other sewing related tasks such as drafting, cutting, and documentation.
- It looks like a sewing table and one you might find in a garment factory. It would have a hard time masquerading as a piece of furniture. My partner is very forgiving about my poor taste (often, function > fashion) and extremely encouraging when it comes to my passion projects but neither of us have a particularly strong desire for the focal point of our the living room furniture to be what is effectively an appliance.
Fortunately, my buddy recently updated all of the furniture in his office offered me a simple table which I gladly took off his hands. It’s slightly wider than Sailrite’s commercially available model at 61”1 which, as it turns out, is a perfect size to hold both the machine and provide for ample space to the left of the machine for large assemblies and for cutting. The table is a simple Ikea counter surface measuring 61” W x 29.5” D mounted to a relatively inexpensive Ikea table frame. It’s nothing fancy, to be sure, but it gets the job done.
Budget
I wanted to do this as cheaply as possible but I still wanted it to look good. I was lucky enough to get a free table which helped keep the cost extremely low. If you don’t already have a surface in mind, I recommend checking Craigslist or Facebook Marketplace to see what can be had second hand instead of buying new.
| Table | $0 |
| Hinges | $5.10 from Sailrite2 |
| Router rental | $12 for 24 hours |
| Total | $17.10 and a few hours |
Planning
There are lots of instructional guides available for DIY sewing tables. Most of these tables feature a recessed or support structure under the table surface on which the sewing machine sits when in use. For my aesthetic, these tables seem to all have the same problem resulting in a sloppy, disjointed look where the recessed machine and the table surface meet.
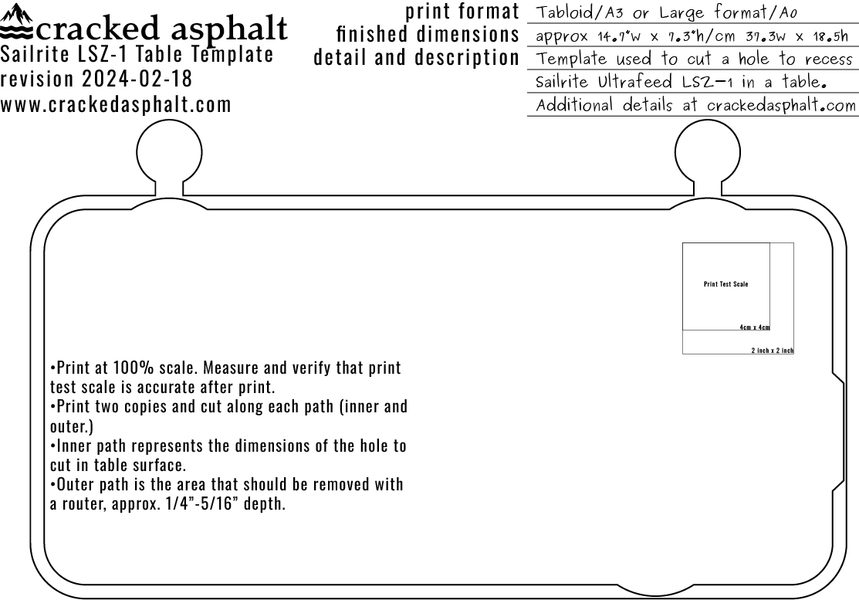
To ensure a snug fit, I wanted to recreate the hole in the factory Ultrafeed case that came with this machine. I searched for hours online to no avail and ultimately determined that I would have to draw it myself. Using a similar method to what Stephen Jones demonstrates in this YouTube tutorial, I measured the case that came with my Sailrite Ultrafeed LSZ-1 and traced out the paths that would ultimately form the required cuts. By iterating the drawing in Illustrator, I was able to draw a very close recreation of the factory cuts which lined up nearly perfectly when printed and cut out.
Note: It’s worth mentioning here that the zigzag version of the Ultrafeed (LSZ-1) and the non-zigzag version of the Ultrafeed (LS-1) are similar but different machines. I have not tested this template on any other machine than an LSZ-1. The manufacturer markets their table to fit both machines and I suspect that my template should work for both machines and, perhaps, some of the less expensive knock off machines but please don’t cut your table without verifying that the template will work for your purposes.
Preparation
My dad graciously offered to let me make a huge mess in his garage while cutting and routing the hole. My original plan was to do it in the bathroom or living room of my fourth floor one-bedroom apartment so I was very glad to take the table with me on an upcoming road trip from SF to Western Washington where my folks live. I rented a router from a local tool rental and borrowed Dad’s jigsaw and drill.
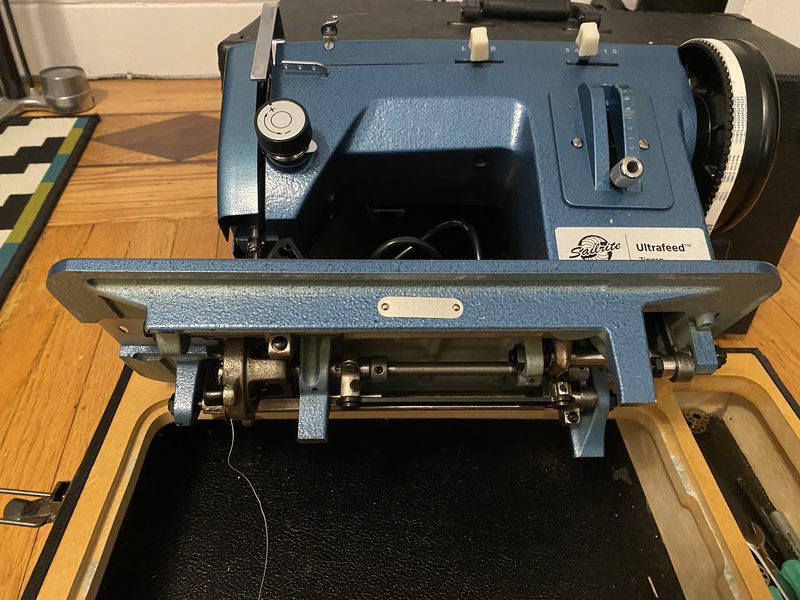
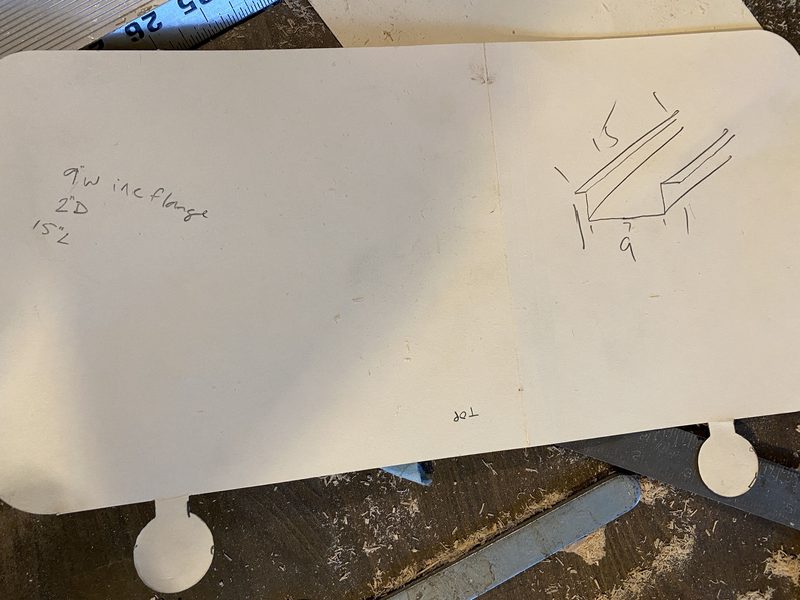
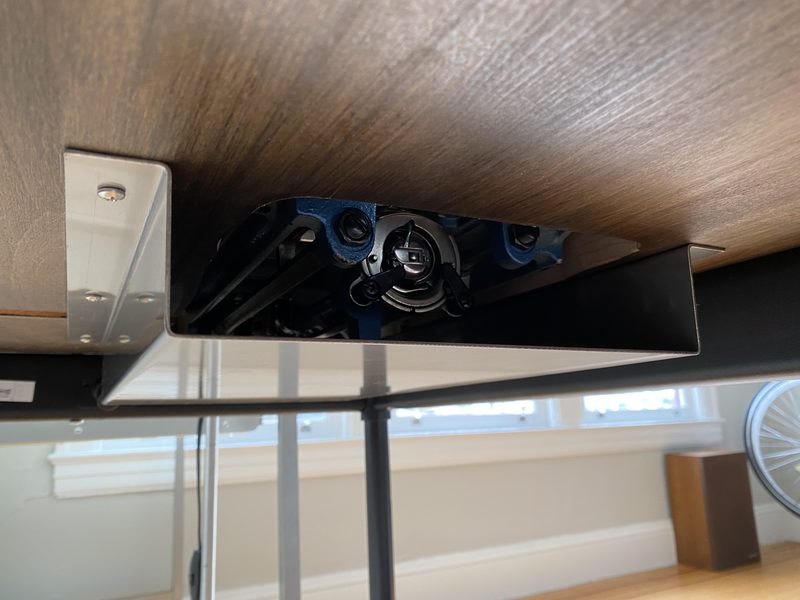
The stainless pan below the table, which I had originally thought I would omit, was made for me as a favor by a local machine shop. Having realized during the planning stage of this effort that there are so many moving parts on the underside of this machine, I quickly changed course. This piece is absolutely critical to keep the moving parts of the machine away from the area down where your nuts hang. It also keeps dust, thread scraps, and oil drips contained so that’s nice too.
The dimensions for this pan are 9” (including the flange) x 15” x 2” deep.
Assembly
I printed and cut two copies of the template, determined exactly where in the table I was going to cut this hole, and traced the template on the table with a permanent marker.
After taking a deep breath realizing that I have exactly one chance to make this work, I drilled a pilot in the board and began cutting out the inner path with a jigsaw to form the hole. Once the hole was cut, I set the router to 5/16” and removed material around the lip of the hole to form the recess for the machine to rest on.
My template was drawn to accommodate the same replacement hinges that come on the factory Ultrafeed case. I opted to purchase a couple of new ones instead of harvest them from my case.
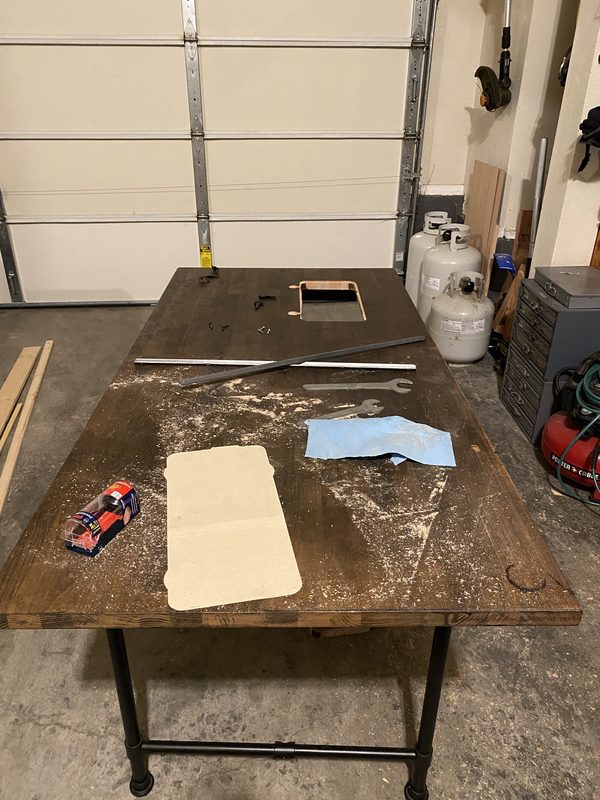
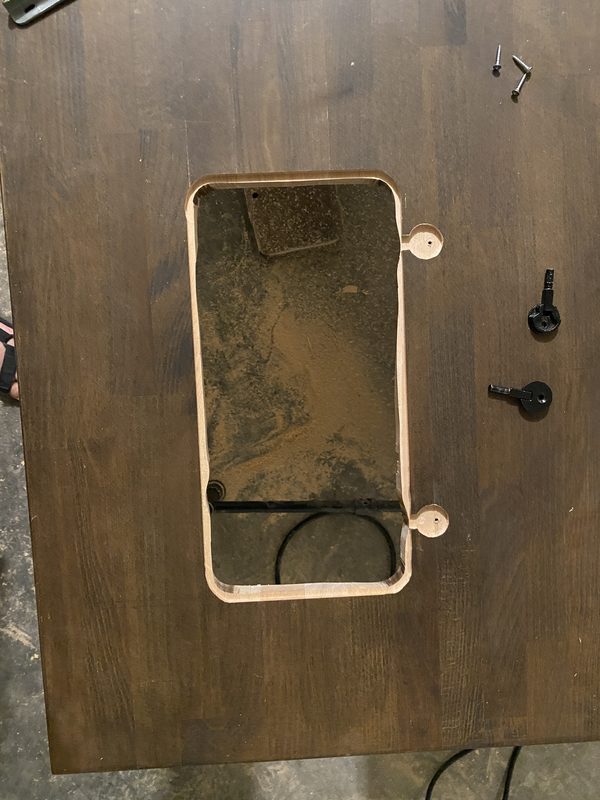
I installed the hinges that I had purchased from Sailrite and Dad helped me fit the machine to the freshly cut hole in the table. To finish up, I drilled pilot holes and mounted the freshly made drip pan to the underside of the table.
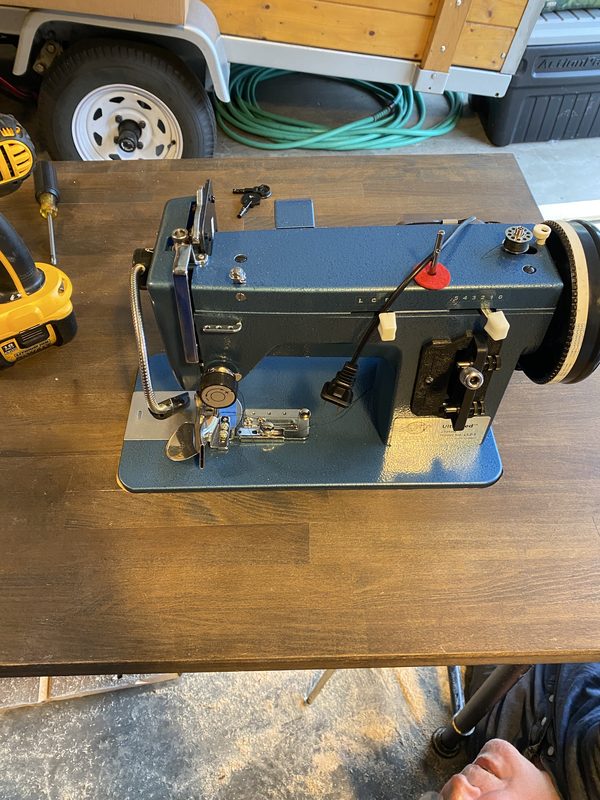
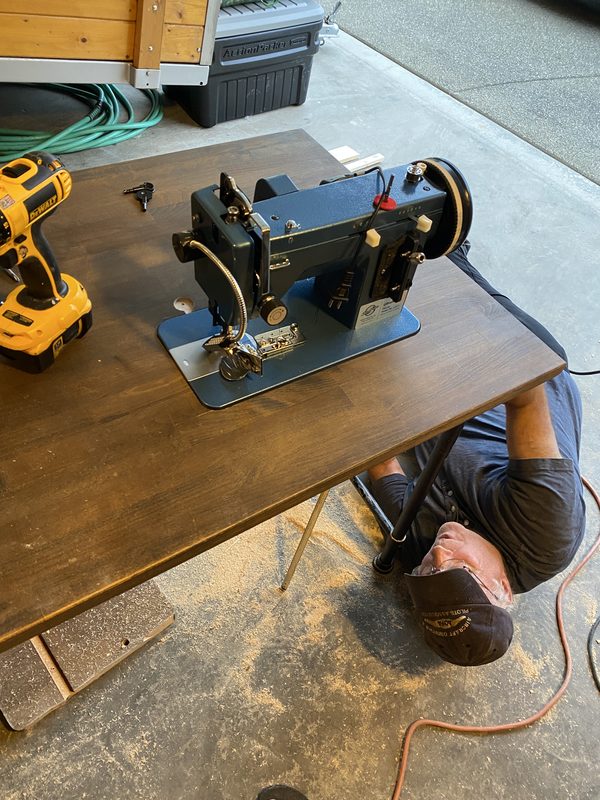
Final Product
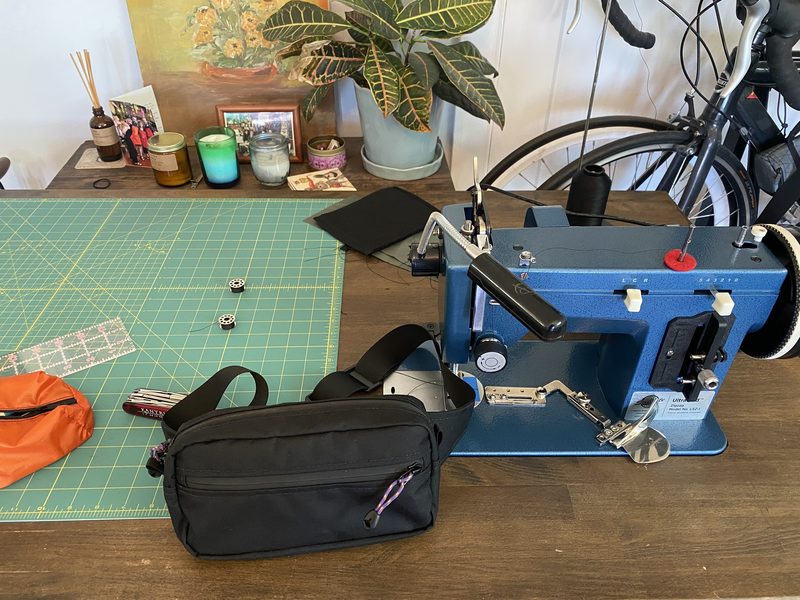
I am not a woodworker and the quality of the cuts make that abundantly clear. Fortunately, my sloppy work is almost entirely hidden by the machine when it’s in the table. Overall, I’m very happy with the outcome and extremely pleased with the price.
Template
Interested in doing something similar but having the same problem that I did finding an official cut template for your Sailrite Ultrafeed? Download the template that I created in the link below. Available in both large format/A0 and letter/A4.
